
[unpaid/sample/affiliate/ad] So, I’ve been experimenting more with the Nails Inc Mani Markers and thought I’d do a super quick tutorial of how to get this wonderfully pared back look. I have had so many comments on it – nobody notices it until they really notice it and the best thing is that literally anyone can do it. I’m no pro but I could probably do this with my eyes shut (if I didn’t mind the dots being random!).

The first thing you need is a base coat – I’m using Chanel La Base Camelia (HERE, £28) which is my favourite but almost impossible to get hold of – I’ve linked to Harrods as the only stockist I can find – but you can use literally any you have at home.

Select a sheer polish – you don’t have to have sheer but I like the understatedness of just a hint of colour because that’s what makes this unexpected. I’ve used Got Me Glowing from Nails Inc. It’s a nail brighter and smoother with just a touch of iridescence and is £9 HERE.
Similar to this


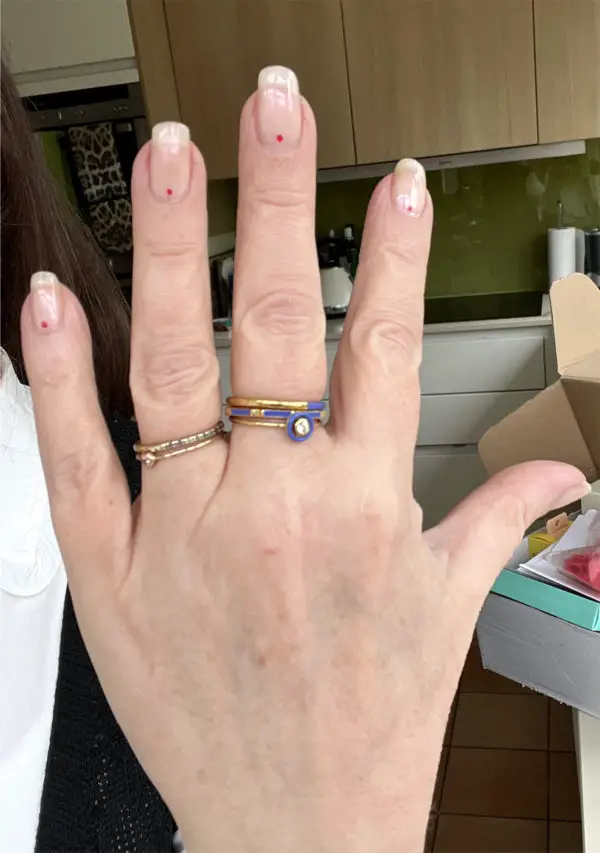
I’m using the red shade – the last mani I did like this I used a beige toned sheer polish with a black dot (see last pic). Lipstick Red is £5 HERE.

You then just decide on a place for your dot! I press the nib down on a piece of cardboard first to ensure that there is a good amount of polish at the tip ready for a dot and then just go for it. You don’t have to place them all at the base like I have here – you could actually dot anywhere and make it different for each nail. After you’ve done that, all you need to do is use a quick dry top coat; any you have at home but I’ve used Chanel Le Gel Coat (on offer at John Lewis for £21.25 instead of £25 HERE). And that’s it. See beige/black dot below with the mangiest fingerless gloves I own – they’re the one thing I’d never buy from Accessorize again!

Leave a Reply